Step-by-step how to do Orton effect with Pixelmator
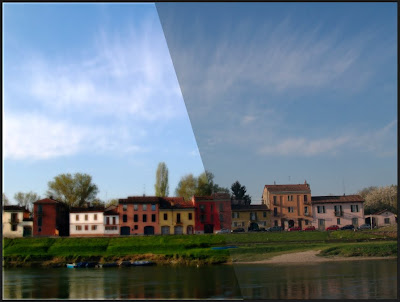
This is a way to simulate, using Pixelmator, a “slide sandwich” (a technique created by the photographer Michael Orton http://en.wikipedia.org/wiki/Orton_(photography) starting from one only photo and control and modify results till you like.
I like this effect, but not all the images work well as “Orton Slide Sandwich”.
Experiment with different settings, results change following files resolution and prints size.
For purists: using a tripod you have to take two photos, the first, sharp and overexposed by two stops and the second, out of focus overexposed by one stop, open them in Pixelmator and change “Layers” blending mode to “Multiply”.


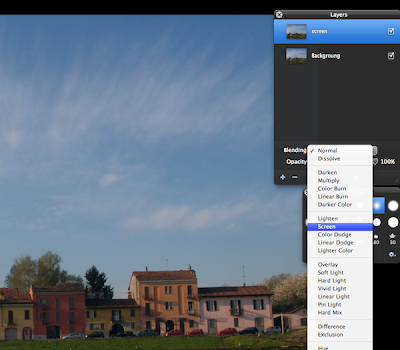
Step 3. In “Layers” change the blending mode to “Screen”.

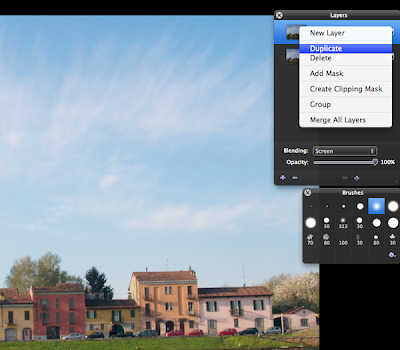
Step 4. Duplicate this image (Layers > Duplicate).

That all! Save as jpg to share.


Commenti