Step-by-step how to do gloom effect with Pixelmator
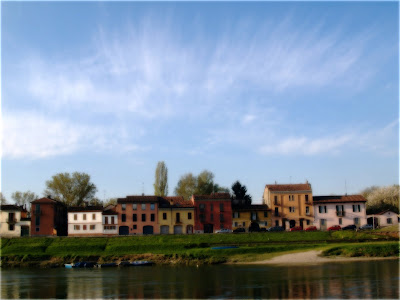
In July I designed this poster 70x100 cm as adv for an historical re-enactment about the Battle of Pavia (1525).

It looks like a painting and it’s perfect for this old style poster.


Step 1. Open your image and save it as pxm. Make a duplicate of the image (Layers > Duplicate).

Step 2. Call it “contrast sepia gloom”.

Step 3. Open “Image > Brightness and Contrast”.

Step 4. Set “Brightness” -2 and “Contrast” +4.

Step 5. Open “Filter > Color > Sepia Tone”.

Step 6. Set “Sepia Tone” to 50.

Step 7. Open “Filter > Stylize > Gloom”.

Step 8. Set “Radius” 12 and “Intensity” 72.

That all! Save as jpg to share.

Commenti